If you’ve ever wondered, “How many coats of primer do I need?” when tackling a painting project in Raleigh, NC, you’re not alone. It’s a common question that can make the difference between a flawless finish and a less-than-ideal result.
The short answer? It depends on the surface you’re working with, the type of paint, and the changes you’re making.
The number of coats you need isn’t always straightforward, but that’s where professional painters in Raleigh, NC, can help. With years of experience, we know exactly how to assess your space, recommend the right amount of primer, and ensure the final paint job looks seamless.
Let’s explore the details of when you need one coat, two coats, or even three. You’ll also get tips on how to apply primer like a pro, and we’ll walk you through why primer is a game-changer for your home improvement project.
Key Takeaways:
- One coat of primer works for smooth surfaces or when changing to a similar color.
- Two coats are ideal for unfinished wood, new drywall, or covering stains.
- Three coats may be needed for textured surfaces, persistent stains, or uneven areas.
- Proper primer application improves adhesion and ensures a smooth, long-lasting finish.
- Professional painters in Raleigh, NC, can assess and apply the right amount of primer for your project.
Why Primer Matters: Setting the Foundation for a Perfect Paint Job
Before we get into the specifics of how many coats of primer you need, let’s talk about why primer is so important. Primer serves as the foundation of your paint job, creating an even surface for your top coat to adhere to. Without primer, your paint may not stick as well, leading to peeling, cracking, or uneven coloring.
In Raleigh, NC, where humidity and temperature can vary, the right primer ensures that your paint job lasts longer, especially in high-moisture areas like bathrooms or kitchens. Primer also helps with adhesion, prevents stains from bleeding through, and ensures your paint goes on smoothly. Without it, you risk having to redo the job sooner than you’d like.
One Coat of Primer: When Is It Enough?
Sometimes, one coat of primer is all you need, but only under the right conditions. If your surface is in good condition, smooth, and you’re not making a drastic color change, a single coat of primer will do just fine.
For example, if you’re painting drywall with a fresh, clean surface or switching from one light color to another, one coat of primer is typically sufficient. This is also the case for metal surfaces that aren’t rusty or corroded. As long as the surface is smooth and in good condition, you can get away with one coat of primer.
The same applies if you’re painting wood surfaces that have been properly prepped and sanded. Masonry surfaces, however, may require more attention due to their porous nature, which absorbs paint differently.
Two Coats of Primer: When You Need More Coverage
While one coat may suffice in some cases, two coats of primer are often recommended for surfaces that need extra care. Here’s when you should opt for two coats:
- Unfinished Wood: Wood is a porous material, and it can absorb primer unevenly. Two coats will give you a smoother, more uniform surface.
- New Drywall: Fresh drywall acts like a sponge, soaking up primer and paint. A second coat of primer helps seal the surface, preventing your paint from being absorbed unevenly.
- Heavy Stains or Mold: If you’re painting over tough stains or mold, one coat won’t cut it. You’ll need two to block the stains and prevent them from bleeding through your top coat.
- Drastic Color Changes: If you’re making a significant color change, especially from dark to light or vice versa, you’ll want two coats of primer to make sure the old color doesn’t show through.
Two coats of primer may seem like more work, but it’s often the best route for ensuring a smooth, even finish. Plus, it helps improve adhesion and makes your top coat last longer.
Three Coats of Primer: Going the Extra Mile for Tough Surfaces
In rare cases, you’ll need three coats of primer, particularly when dealing with textured surfaces, heavy stains, or surfaces that have been patched or repaired. Here’s when three coats might be necessary:
- Textured Surfaces: Surfaces like plaster or masonry that have a lot of uneven areas require an additional layer of primer to fill in gaps and create a smooth, consistent surface.
- Persistent Stains: If stains like water damage or nicotine are still visible after two coats of primer, a third coat will help block them completely.
- Uneven Surfaces: If your walls have been patched or repaired, the surface might be uneven. Three coats of primer can help smooth things out and create a consistent base for your paint.
While three coats of primer aren’t necessary for most projects, they can be a lifesaver when you’re dealing with difficult surfaces. Professional painters in Raleigh, NC, know exactly when it’s time to apply that extra coat to ensure a flawless finish.
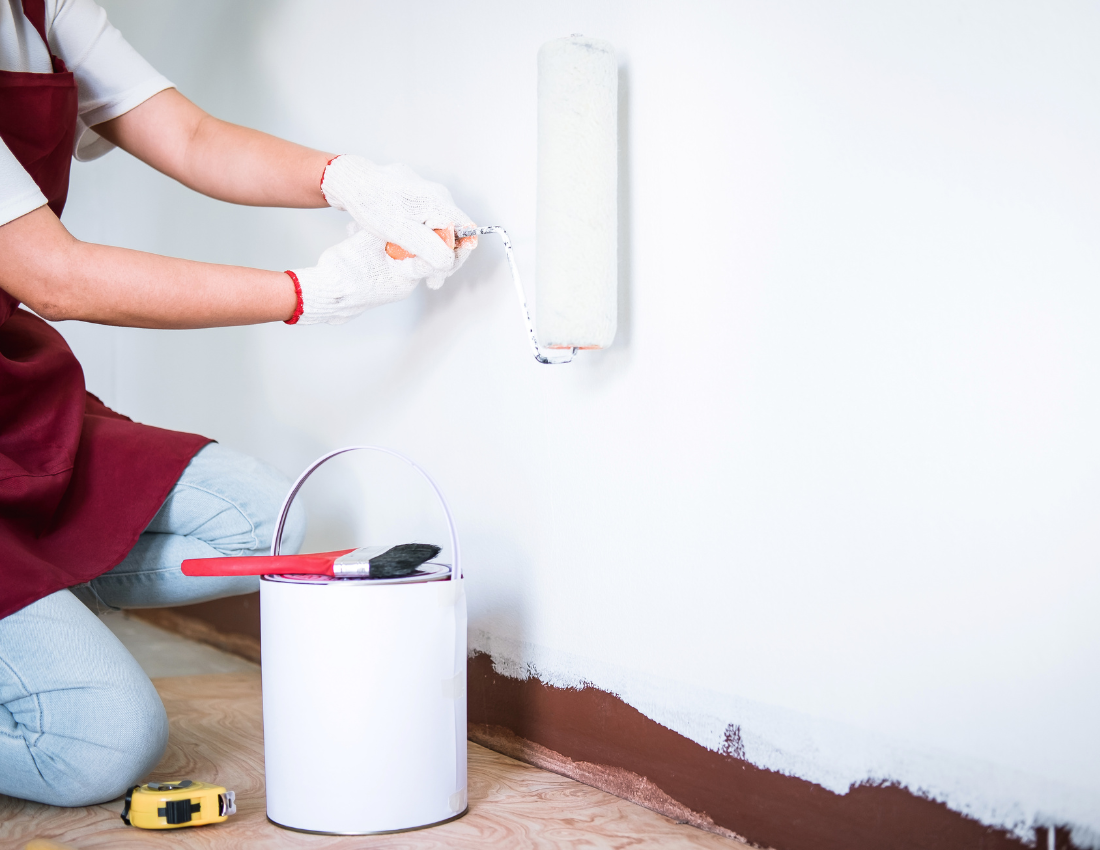
How to Apply Primer Like a Pro
It’s not just about how many coats of primer you need; it’s also about how you apply it. Proper primer application can make or break your paint job. Here are some pro tips for getting it right:
- Surface Prep: Before you even think about applying primer, make sure your surface is clean and dry. Dust, dirt, and grease can interfere with adhesion. Sanding is especially important for wood surfaces to smooth out imperfections and improve primer adhesion.
- Choose the Right Primer: Different surfaces require different types of primers. For example, latex primer works well on drywall, while oil-based primer is better for wood and metal. Be sure to select the right one for your project.
- Apply Even Coats: Use a paint roller or brush for smaller areas and a sprayer for larger surfaces. Apply primer evenly, ensuring there are no streaks or missed spots. Multiple thin layers are better than one thick coat, as it allows for smoother coverage and faster drying.
- Allow Enough Drying Time: Primer needs time to dry before you can apply your top coat. Follow the manufacturer’s instructions for drying times. If needed, lightly sand the primer once dry to ensure a smooth surface.
When to Call Professional Painters in Raleigh, NC
Still unsure how many coats of primer you need, or feeling overwhelmed by the prep work? Calling professional painters in Raleigh, NC, might be the best solution. Our team can assess your home and recommend the ideal primer application for your project. We handle all the prep work, primer application, and painting, ensuring a smooth, long-lasting finish.
Conclusion: How Many Coats of Primer Do I Need?
In most cases, two coats of primer are all you need to get the best results, especially when dealing with new drywall, unfinished wood, or challenging surfaces. However, depending on your specific situation, one or three coats might be the right choice. Keep in mind that primer is essential for improving adhesion, blocking stains, and providing a smooth base for your top coat.
Whether you’re tackling a small DIY project or a larger home improvement job, professional painters in Raleigh, NC, can guide you through the primer process, ensuring your paint job looks flawless from start to finish.
Our painting process includes:
- Consultation & Color Selection: We’ll help you choose the perfect color for your home.
- Surface Preparation: Our team ensures your surfaces are cleaned and prepped for painting.
- Primer Application: We apply the right amount of primer to achieve an even base.
- Painting: High-quality paint for a professional finish.
- Clean-Up: We leave your space looking just as beautiful as when we started.
Need help with your project? Call Alvarez Painting today for a FREE estimate! We proudly serve Raleigh, Morrisville, Wake Forest, Chapel Hill, NC, and the surrounding areas. Call us at 919-444-8997.


