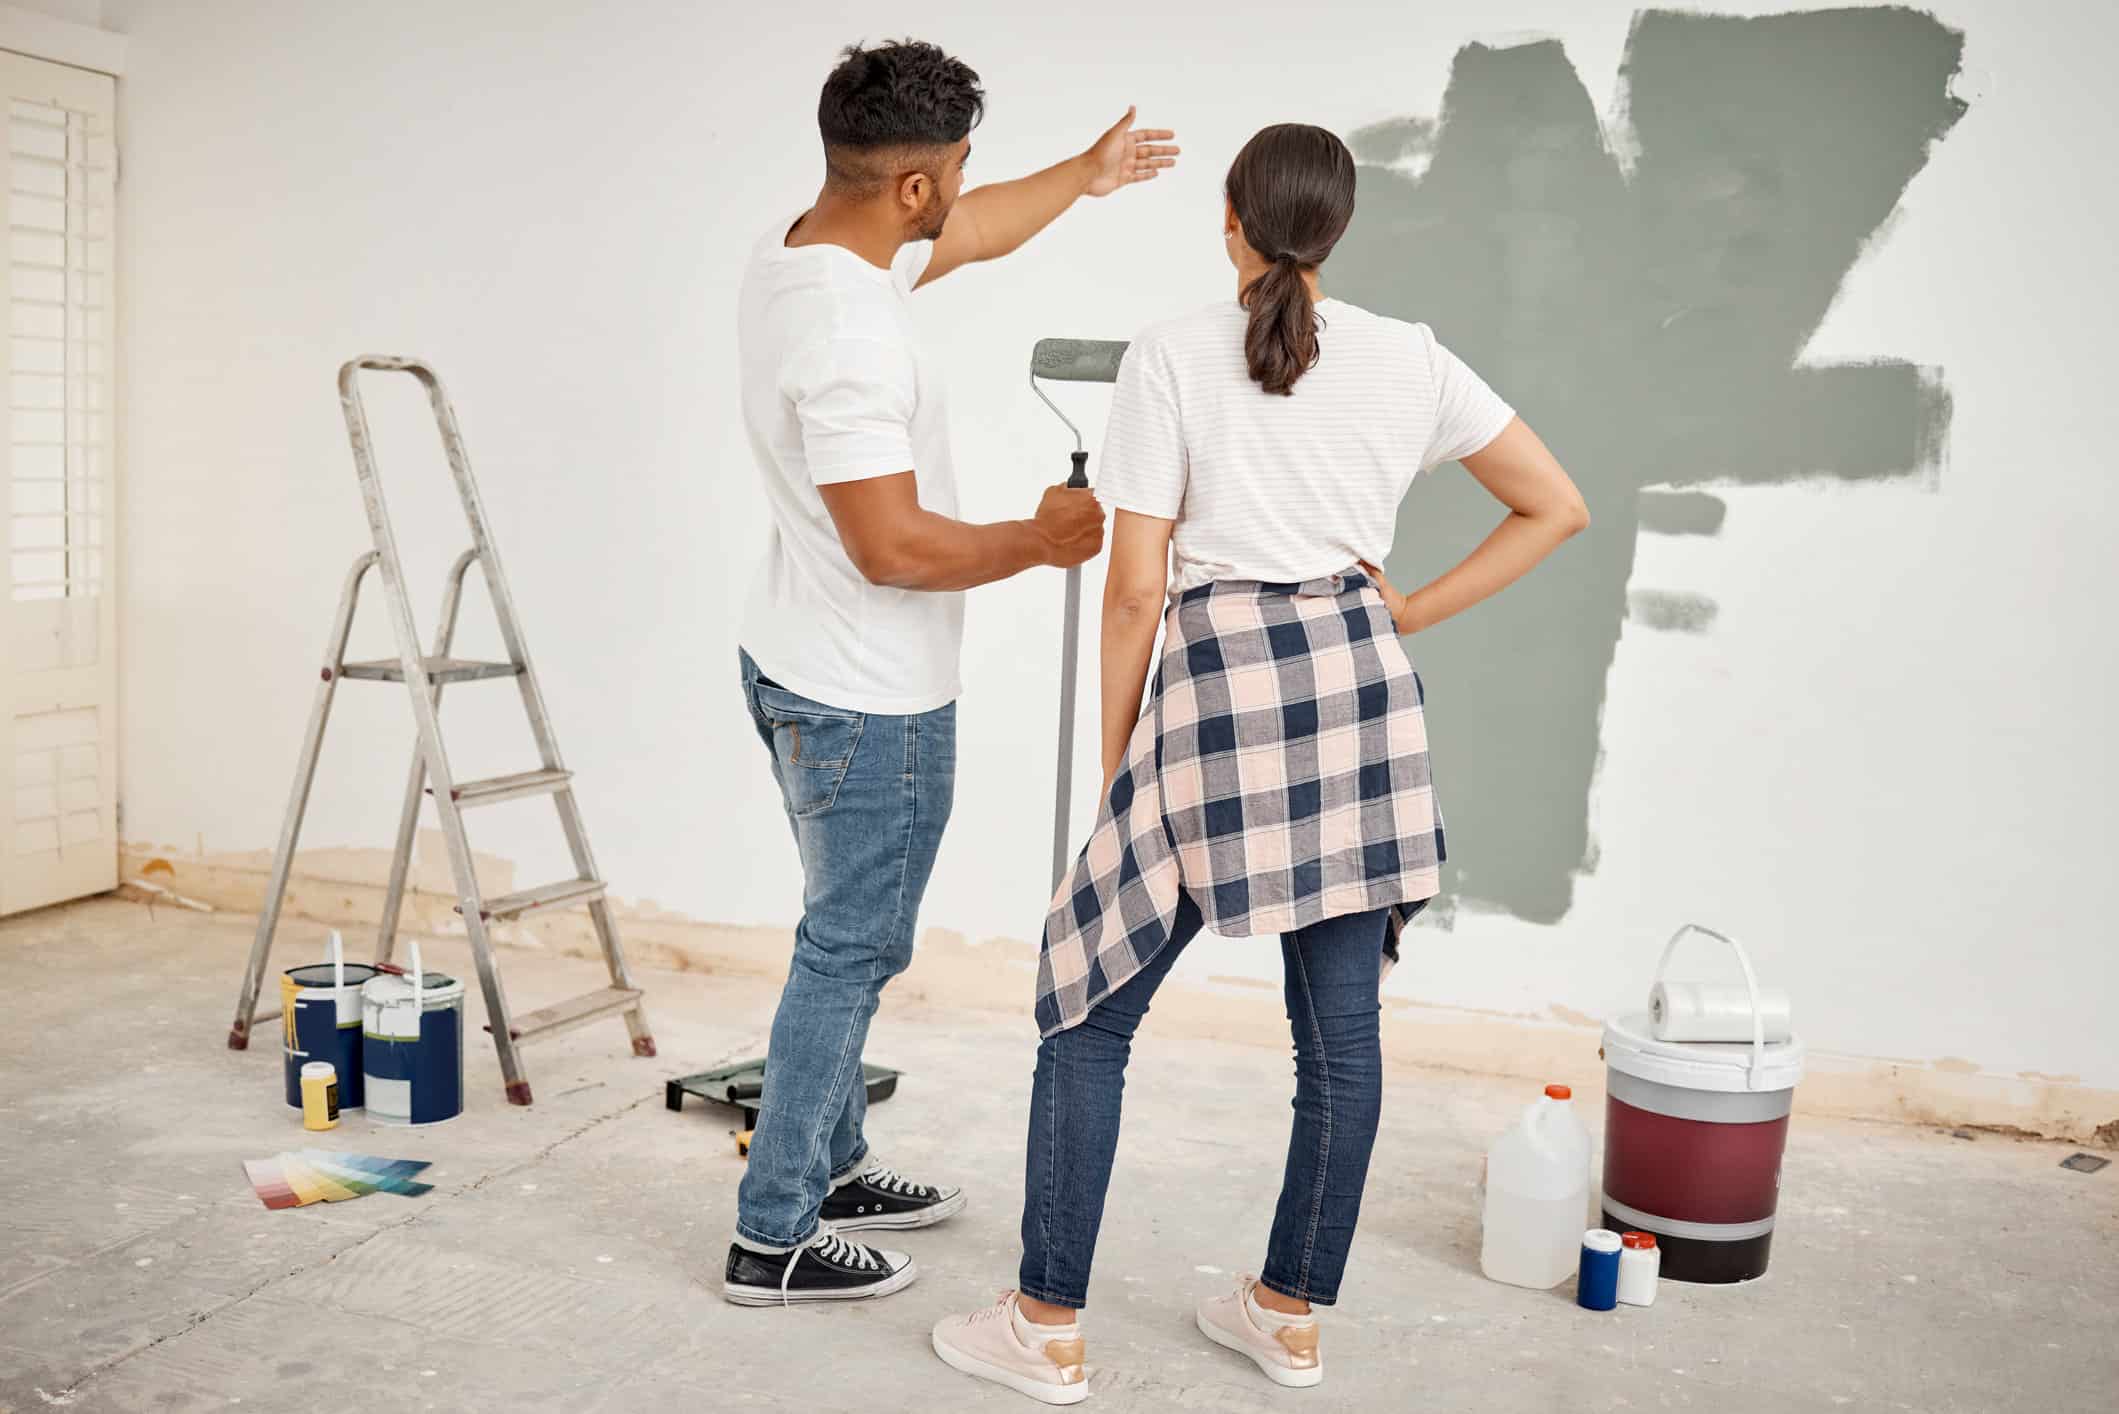
Looking to transform your space with interior painting? It’s a colorful adventure! Yet, as with any journey, there might be a few bumps along the way. That’s where understanding common paint mistakes becomes essential..
In this comprehensive guide, we’ll not only identify these typical errors but also provide expert solutions to correct them. By mastering these tips, you’ll save time, reduce frustration, and elevate the quality of your DIY painting project. These tips also go a long way in helping you achieve that smooth, professional-looking finish you’ve been dreaming of.
Fixing Common Paint Mistakes

Identifying Common Paint Mistakes
Mistake 1: Drips and Runs
Drips and runs in paint are like blemishes on an otherwise perfect canvas. These flaws can ruin the smooth finish of your painting project. They typically appear when paint is overapplied, laying it on too thick, or when the painting environment is less than ideal – such as a room that’s too hot or too humid. These conditions cause the paint to flow and sag, leaving unsightly trails on your walls.
Mistake 2: Uneven Coats
Uneven coats in painting can compromise the overall appearance of your work. This common issue is usually the result of rushing the job or applying paint inconsistently. Uneven coats can show up as patchy areas where the underlying surface peeks through or as areas with noticeably different paint thicknesses. This not only affects the aesthetic appeal but can also lead to issues with paint durability over time.
Mistake 3: Brush Marks
Leaving brush marks is just like leaving fingerprints at a crime scene – they’re a dead giveaway of a rushed job. These pesky marks can detract from the smooth, seamless finish you’re aiming for. They’re usually the result of using substandard brushes or incorrect application techniques.
Mistake 4: Paint Bleeding Under Tape
Paint bleeding under tape is a common frustration in DIY painting. This mishap occurs when the painter’s tape isn’t properly adhered to the surface or if the tape used is of low quality. This results in paint sneaking beneath the tape, spoiling the crisp, clean lines you aim to achieve. It’s an issue that undermines the precision of your work,
Proactive Steps to Avoid Common Paint Mistakes
Tip 1: Proper Preparation
Preparation is half the battle. Starting with a clean, smooth surface is key. Make sure to repair any cracks or holes and thoroughly wash the walls. Using quality painter’s tape is crucial for protecting edges and creating sharp lines. It’s not just about applying paint; it’s about setting the stage for success.
Proper prep work ensures your paint adheres better and looks smoother, ultimately leading to a more professional finish. This foundational step can’t be overlooked if you’re aiming for top-notch results.
Tip 2: Right Paint and Tools
Selecting the correct paint and tools is similar to choosing the perfect ingredients for a gourmet meal. It’s essential to pick the type of paint and brushes or rollers that are best suited for your wall’s texture and specific conditions. Consider factors like room humidity, light exposure, and wall material.
High-quality tools can significantly enhance application ease and final appearance. For instance, a roller with the right nap length makes a huge difference on textured surfaces, while a fine brush is ideal for smooth walls. This careful selection process ensures a seamless and enduring paint job, transforming your space with professional-grade results.
Tip 3: Technique Matters
Mastering good painting technique is indeed an art form that plays a pivotal role in avoiding common paint mistakes. It’s important to use even, light strokes, maintaining a consistent pressure and direction. Avoid overloading your brush or roller, as this can lead to drips and uneven coverage.
Think of it as a dance across your canvas – each movement deliberate and smooth. This careful approach will help prevent issues like brush marks and uneven layers, ensuring a more professional and visually pleasing result. Additionally, maintaining a wet edge as you paint will help to blend each stroke seamlessly, further enhancing the overall finish of your work.
Need more guidance with painting techniques? Here’s a helpful video:
Expert Solutions for Common Paint Mistakes
Fix 1: Correcting Drips and Runs
If you’re going to address drips and runs in your paint job, you must be patient and careful. First, allow the paint to completely dry; this is crucial for effective correction. Once dry, use fine-grit sandpaper to gently sand the affected area, smoothing out any imperfections. This process should be done with a light hand to avoid damaging the underlying surface. After sanding, wipe the area clean to remove any dust. Then, reapply the paint, this time in thin, even layers.
Fix 2: Smoothing Out Uneven Coats
Fixing uneven coats requires patience and precision. Start by allowing the paint to completely dry. Once it’s dry, use a fine-grit sandpaper to lightly sand the area. This step is crucial for creating a smooth base, free from bumps or ridges. Be gentle to avoid removing too much paint or damaging the wall. After sanding, carefully remove any dust with a clean cloth. Then, reapply the paint in thin, even layers.
Fix 3: Eliminating Brush Marks
To effectively eliminate brush marks, a gentle touch and the right tools are key. Begin by lightly sanding the area with fine-grit sandpaper. This will soften and smooth out the visible brush strokes, creating a more even surface. Take care to sand lightly to avoid removing too much paint or damaging the wall. After sanding, wipe away any dust with a clean, dry cloth.
Then, repaint the area using a high-quality, finer brush or roller. This will help in applying a smoother, more uniform coat of paint. Choose a brush or roller that’s specifically designed for the type of paint you’re using and the texture of your wall. This approach not only helps in masking the brush marks but also enhances the overall texture and finish of the paint job, leaving you with a professional-looking, mark-free surface.
Fix 4: Addressing Paint Bleed
Addressing paint bleed requires a detailed and precise approach. To correct these imperfections, arm yourself with a small artist’s brush. This tool allows for meticulous control and precision. Carefully apply paint to the areas where bleeding has occurred, taking care to stay within the lines for a clean, sharp finish.
The key here is to use minimal paint on the brush to avoid further bleeding and to achieve a more controlled application. This method ensures that the edges of your paint job are crisp and clean, greatly enhancing the overall neatness and professional appearance of your work. By taking the time to make these precise touch-ups, you can transform a flawed paint job into a flawless masterpiece.

Final Touches for a Professional Look
Touch-ups and Final Coat
After the bulk of your painting project is complete, it’s time to don your inspector’s hat. Review your work with a critical, yet constructive eye. Look for any areas that might have been missed or need a bit more attention. It’s these small details that make a big difference in the end. Touch-ups are your friends here; they are the fine brushstrokes that turn a good paint job into a great one. Use a smaller brush for precision and ensure that these additional applications blend seamlessly with the existing paint.
Once satisfied with the touch-ups, consider applying a final coat. This last layer acts like a unifying veil, bringing together all your hard work into one cohesive, polished look. It’s not just about adding more paint, but rather about ensuring even coverage and depth of color throughout the space. This final coat is your assurance of a smooth, even, and professional finish that you can be proud of. Take your time, use the right tools, and watch as your space transforms into a testament to your DIY skills and dedication.
Maintenance Tips
A well-maintained paint job can significantly extend the life and beauty of your walls. Here are some practical tips to keep your painted surfaces looking their best:
- Regular Dusting and Cleaning: Gently dust your walls with a soft cloth or duster to prevent the accumulation of dirt and grime.For more thorough cleaning, use a soft sponge and mild soapy water. Be sure to wring out the sponge well to avoid water seeping into the paint.
- Dealing with Stains and Marks: Address stains or marks promptly using a damp cloth. Avoid harsh scrubbing, which can damage the paint. For tougher stains, a mild detergent can be used. Test it on a small, inconspicuous area first.
- Avoiding Sun Damage: Use curtains or blinds to protect your walls from prolonged exposure to direct sunlight, which can cause paint to fade over time.
- Touch-ups: Keep a small amount of the original paint for touch-ups. This ensures a perfect color match. Apply touch-ups to scratched or chipped areas using a small brush for precision.
- Humidity Control: In humid areas, use a dehumidifier to prevent moisture buildup, which can lead to paint peeling or mold growth.
- Annual Inspections: Conduct a yearly inspection of your walls to catch any issues early, such as peeling or cracking.
Following these tips will help maintain the fresh and vibrant look of your paint, keeping your walls looking as good as new for years to come. Regular care and timely interventions can make a world of difference in preserving the integrity and appearance of your paint job.
Conclusion
Tackling common paint mistakes is part of the DIY journey. Each mishap is not just a hurdle, but a valuable lesson learned. With every drop of paint and every stroke of the brush, you come closer to mastering the art of painting. With these experiences, you improve your painting skills, so you become more savvy as a DIY painter. Embrace each challenge as an opportunity to grow, and remember that with patience and practice, you’ll achieve that flawless finish.
Thinking about painting your home but feeling a bit overwhelmed? Alvarez Painting is here to help! With over 30 years of combined team experience, we specialize in transforming homes with precision and artistry. Using only high-quality paints from Sherwin Williams and Benjamin Moore, our team ensures durability and beauty with every stroke of the brush.
Call us today at (919) 444-8997 for a free estimate.


